Cyrozap's Tech Projects

Computers. Circuits. Code.

Reverse-engineering a VCR Knob/Jog-wheel

Here's a video I made showing that it outputs in a pseudo-digital way:

From the video description:

This is a simple test I did to see how to decode the output from a VCR knob. First, I used a multimeter while I moved the knob to find out which pins went where inside the device. Then, upon finding that it's a sort of pseudo-digital output, I wired it up to some LEDs and started turning it. I didn't get any output when I turned it right, but I'll figure that out eventually.

By the way, my digital camcorder has a REALLY nice macro mode built in (if you haven't already noticed from the video). One time, I held the camera up to my netbook's screen while it was set to macro mode and I could see the individual pixels INSANELY crisply; so crisply, in fact, that I could see the individual RGB bars.

Expect a post about the DIY-intosh tomorrow. Right now, I have to get some sleep.
Problems with Netbook Multitasking and MakerBots

Another FAIL

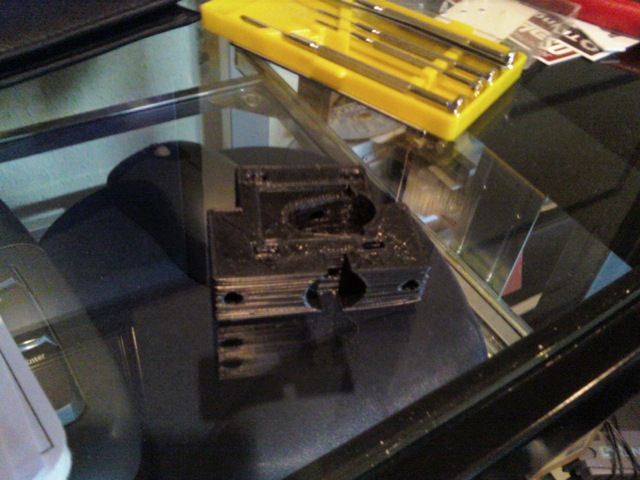
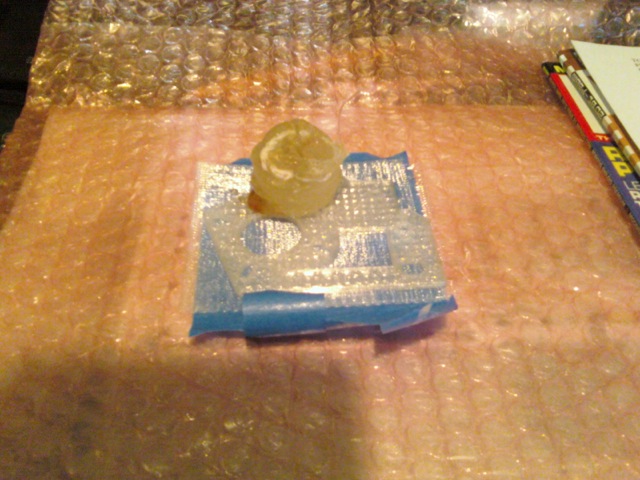
XYZ stopped, but the extruder kept going. Lovely.

This is what happens when you VNC into your MakerBot-controlling netbook while it's printing something. It destroyed my extruder barrel by coating it in PLA and pushing up the ceramic tape. There goes $20 for a replacement. I don't think I'll be remotely managing my MakerBot ever again. Well, I'm now going to be using a Pentium 4 3.00 GHz 512 MB RAM machine that I got for free to control my MakerBot. Hopefully that will solve some of the problems I've had in the past. At least it'll Skeinforge faster.

Storage upgrade!

I just installed an 80 GB HDD into this server. It's mounted to wp-uploads on boot, so whenever I upload a file to the server, it goes directly onto the 80 GB HDD. I think it's 7200 RPM but I don't know for sure. It's also not from the 90s (like the 10 GB HDD that contains the rest of the filesystem). Accessing files on it seems faster than from the 10 GB HDD. This also means that I have 80 GB more storage space than before, so I don't have to upload everything to Picasa and then embed it. I'm really excited, considering that I got the HDD for free.

PLA!

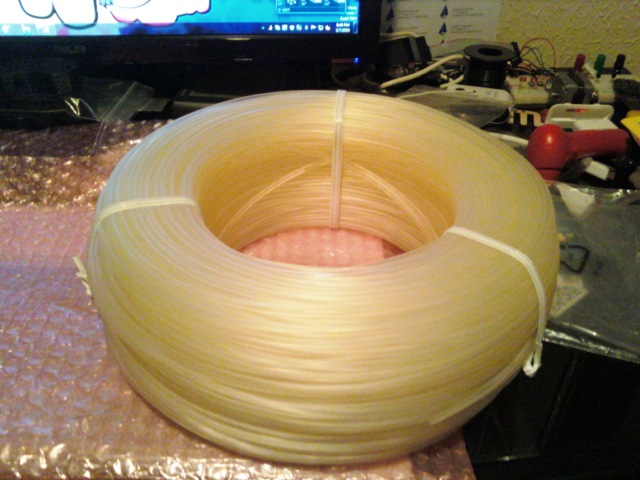
A few days ago, I ordered some PLA (from UltiMachine, at $47.50) so I could print out larger objects without warping. It's arrived, and now I have to figure out how to modify my MakerBot to use it. I found this thread helpful.

PLA

Just so you know, MakerBot Industries is also selling PLA, but it is 4032D, and is currently on sale at $60 (and will rise to $80 on Monday). Supposedly, 4032D is better because it has a more ABS-like melting point so it can be used in a MakerBot more easily, but I've heard 4042D works fine.

MAKE: Money and DIY-intosh

I signed up for MAKE Magazine's Make: Money program. With it, I can sell MAKE Magazine subscriptions to people and have %50 of the money go to this blog! It's a really cool system, and now, people that can view this blog can order online using this link. When you click on the link, you are taken to MAKE Magazine's web order form. All you have to do is fill out the required information and pay for the subscription. Half of the money is automatically sent to the blog and you get subscribed to an awesome magazine. I'm speaking from experience; I subscribe to MAKE, too, and it's great. There are a TON of great projects, articles, product reviews, and more. So why wait? Order now!

Ok, the sales pitch is over. If you haven't already noticed, I've renamed the DIY Mac project to DIY-intosh. The current status is good; I have most of the parts already and the rest are on their way. The reason why this has taken so long is because I accidentally bought the wrong CPU fan and had to send it back. Also, I had to wait until monday to deposit the money I got for Christmas. The good news is that I have or have ordered all of the parts to make a functioning Mac. The next post about the DIY-intosh will have a bunch of pictures. This is going to be awesome.

Oh, and I probably won't be posting any more fund-raising posts.

DIY Mac Part II

The parts have been bought; all except the MacBook keyboard and the thermal compound. So it begins.

Please donate; I really need money for this project!

^ That must have sounded reeeeally desperate.

Failures and Succeses

This post summarizes the events of the past few days:

  • MakerBot randomly stops during large print (Mendel extruder), causing blob; blob makes print fail epicly.
  • Happens again; no idea what's going wrong.
  • I tighten the X/Y belts.
  • Happens AGAIN!
  • I sleep on the thought.
  • I tighten down the extruder.
  • I take a trip online to the MakerBot Google group; find out what I have to do.
  • I fix it.
  • I happily print out Mendel parts.
  • :D

Mendel Extruder

Extruder working better than EVER!

I printed a dodecahedron today. It printed fine, but plastic was building up on the nozzle.

Why was this? Because the extruder was extruding faster than the build base was moving.

Why is this good? Before, the settings I used worked with my extruder just fine. Now, because plastic is building up, it means that the extruder's motor speed is faster than it was before, meaning that it has become more efficient. This is probably because of the modifications I made to it (especially the filing job I did on the pinch wheel). I modified the Skeinforge settings and am going to print out another dodecahedron momentarily.

I'm so excited!

From MakerBot #000117 'Spartan'