UPDATE (8/19/2010): You could probably do this a lot easier/quicker by just making an OS X USB drive by making a DMG of the OS X install disk and then restoring that image onto an 8 GB or larger USB drive, but this post is just about how I did it.
Well, that sleep switch certainly did the trick! It turns out that Macs w/o an OS can't do anything until OS X is installed. This means that boot keys like "T" for Target Disk Mode and "C" for Boot from CD won't work until the OS is installed. The good news is, using this info that I learned myself, I was able to install OS X on my DIY-intosh. This is what you need (or, rather, what I used):
- 1 DIY-intosh w/ newly attached sleep switch and magnet and w/ pre-formatted HDD
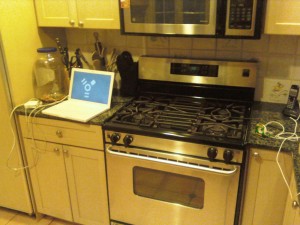
- 1 Mac with a firewire port
- 2 power cables
- 1 firewire cable (If the non-DIY Mac has a firewire 800 port you need this cable, if it has a firewire 400 port, then you just need this cable.
- 1 mini-DVI to whatever cable (I used a mini-DVI to DVI cable)
- 1 USB keyboard
- 1 USB mouse
- 1 display
- 1 Mac OS X 10.6 DVD
- lots of patience
How to install OS X on the DIY-intosh:
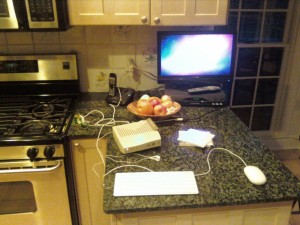
1.) Connect everything logically. Connect the Macs via firewire cable, plug Macs into wall power, connect DIY-intosh to monitor, connect USB keyboard and mouse to DIY-intosh, etc.
2.) Boot and log-in to MacBook.
3.) Insert OS X Install DVD.
4.) Go to Sysprefs->Boot Devices (or something like that).
5.) Select the DVD and select restart now.
6.) While the MacBook is rebooting, hold "T" to enter Firewire Target Disk Mode.
7.) Boot DIY-intosh.
8.) Wait a long time.
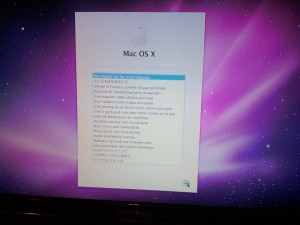
9.) If you see the install screen, success! If not, figure out what's wrong and fix it.
10.) If you haven't already done so, format the HDD to a Mac Journaled file system by selecting it from the Utilities menu at the top of the screen.
11.) Proceed through the installation. Make sure that when you select a drive to install to, pick your DIY-intosh one and NOT your MacBook one. Just a word of warning.
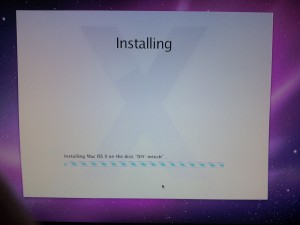
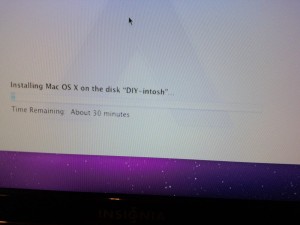
12.) Wait a long time (1.5-2 hours) for it to install. Disregard the "30 minutes remaining" and read a book or watch a movie because from this point until the install finishes there's no user intervention required.
13.) When your DIY-intosh reboots, turn off the MacBook, for it is no longer necessary. Unplug the firewire cable for the same reason.
14.) Enjoy the welcome animation and your new DIY-intosh.
I swapped the Marvel MC85 card that I was using for the AzureWave card from my Eee PC 1000HE and now WiFi works fine on both my netbook and my DIY-intosh. I needed to use ndiswrapper to get the WiFi working on my netbook, but I figured a hack on my Linux community-supported netbook would be better supported than a hack on my OS X DIY-intosh.
